I love paper. Like… a lot. It’s no secret that my favorite store is Paper Source. I could get lost for hours and spend thousands of dollars there on nothing but paper. It’s appropriate, then, that my love affair with paper (and pretty much anything handmade) was what cemented the fate of my client stationery; they were destined to be meticulously crafted.
While I was growing up, my mom went through different phases of craft-obsessions. The first phase I remember is smocking. I liked that phase- I have many-a-handmade Easter dress from that period. Then she moved on to knitting. PSA: hand-knit dish rags don’t last very long. Then came the rubber stamps. Ho. Ly. Cow. We had SO MANY rubber stamps, my mom had several of those little plastic multi-drawer carts to store them all.
The rubber stamp era gave way to a new dawn: card making. This was a pretty cool phase- she made all the Christmas, birthday and last-day-of-school gifts for our teachers- always a set of handmade thank-you cards. It was this, watching my mother craft her little heart out, only to then turn around and give away her creations, that inspired me to put so much effort into my own client stationery.
This DIY post is easily applicable to cards for any sort of occasion!
Supplies:
- Size A2 folded and flat cards and A2 envelopes- PaperSource
- Logo stamp- RubberStamps.net
- Key stamp- PaperSource
- Pigment pad (different than an ink pad- make sure it specifically says PIGMENT)- Michael’s Craft Store
- Embossing powder- PaperSource
- Embossing gun -Michael’s
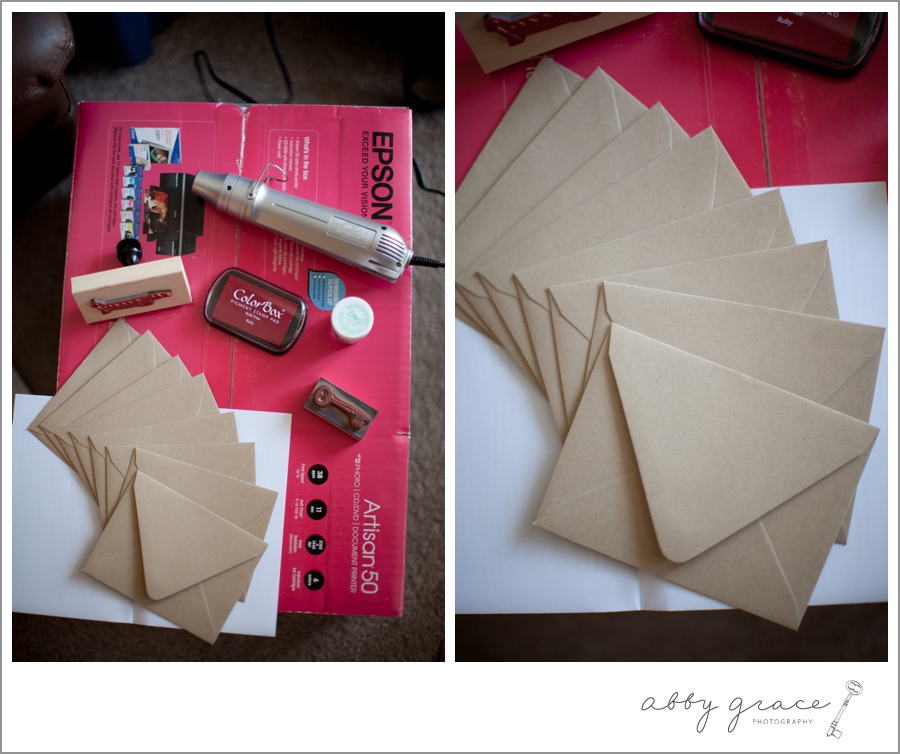
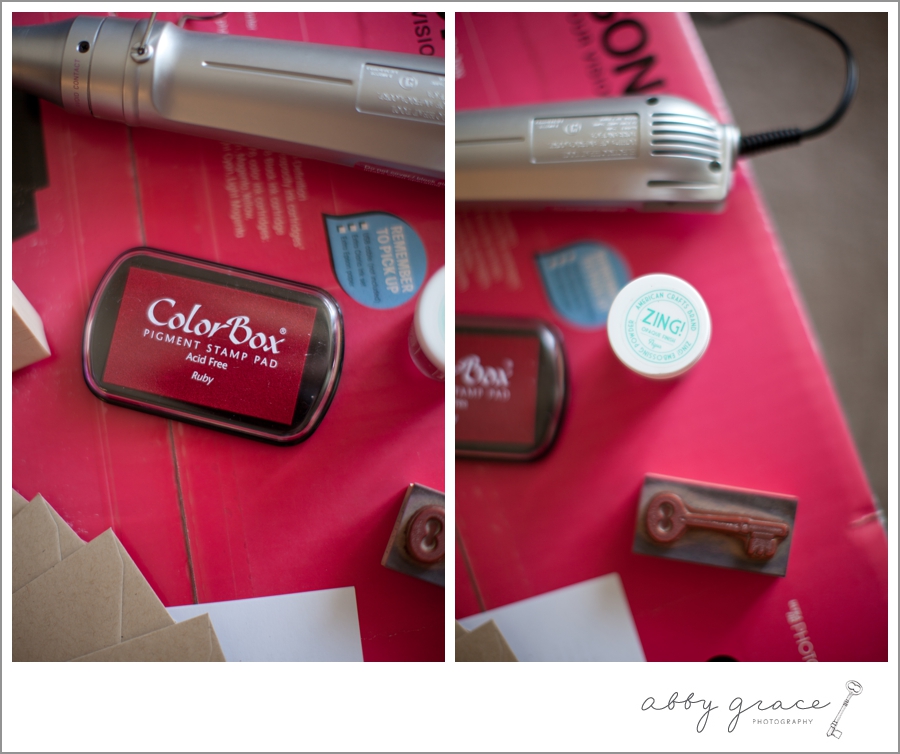
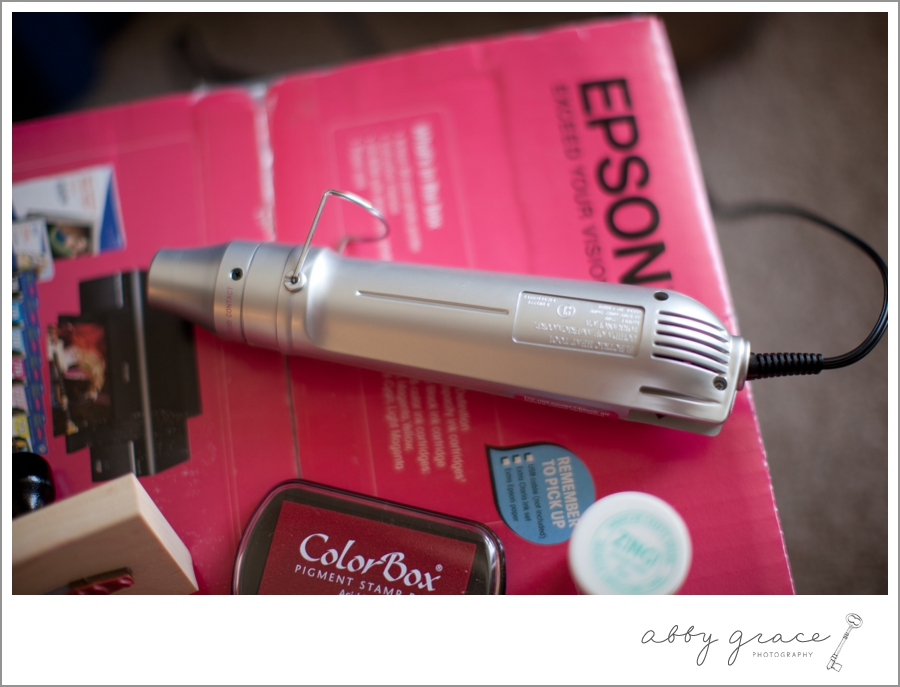
Step one: Get the stamp good and inked up, then stamp it! be sure not to rock the stamp- keep it as stationary (haha, pun) as possible while pressing down firmly.
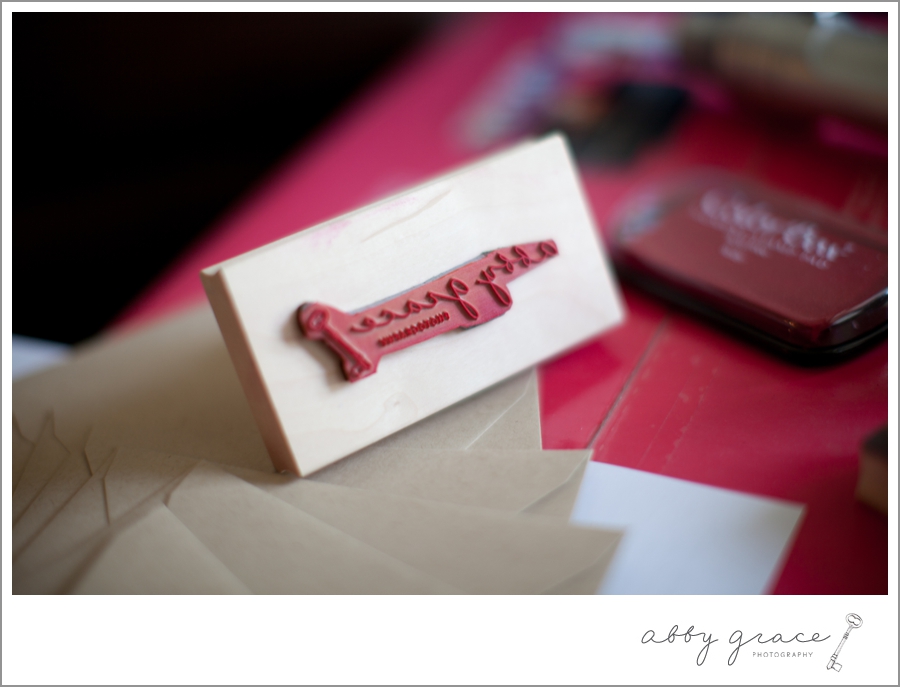
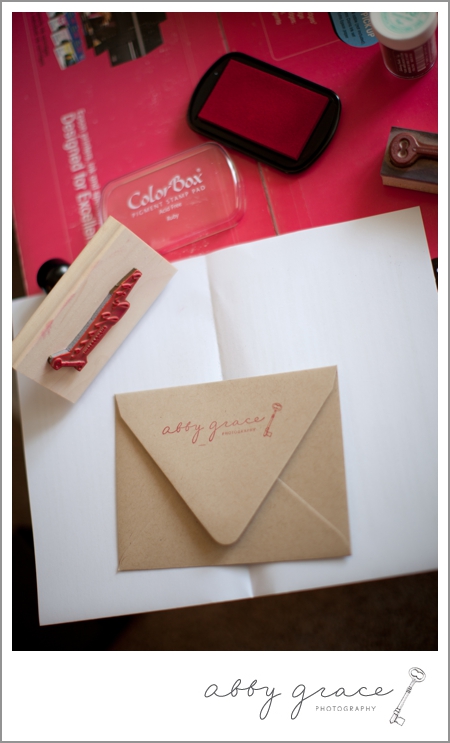
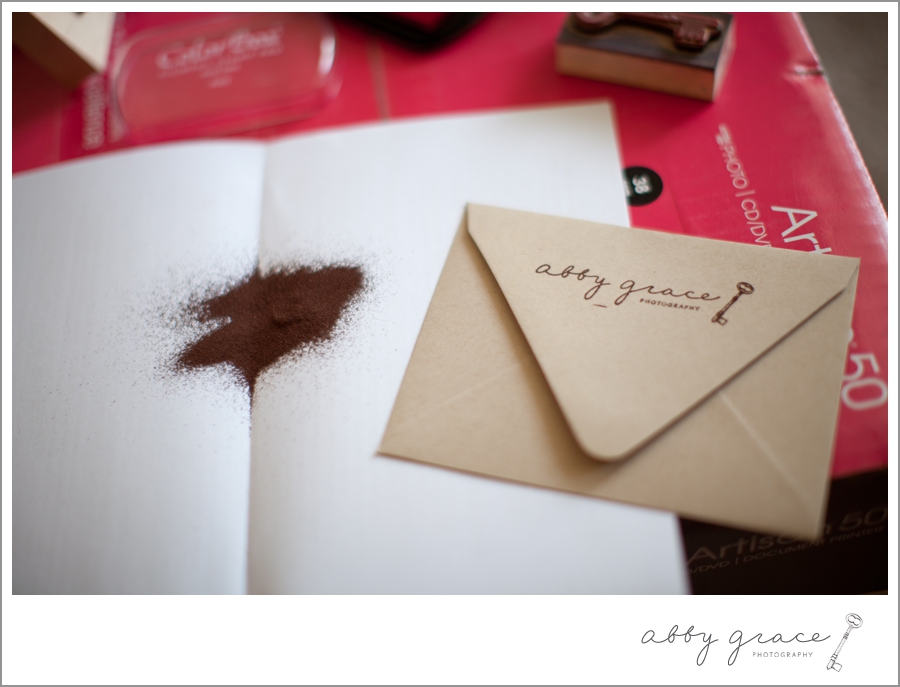
Step two: Immediately sprinkle an ample amount of embossing powder over the pigment. Be sure to have a large piece of paper under your project- after making sure the pigment is covered with embossing powder, tap off the excess powder and return it to the powder jar.
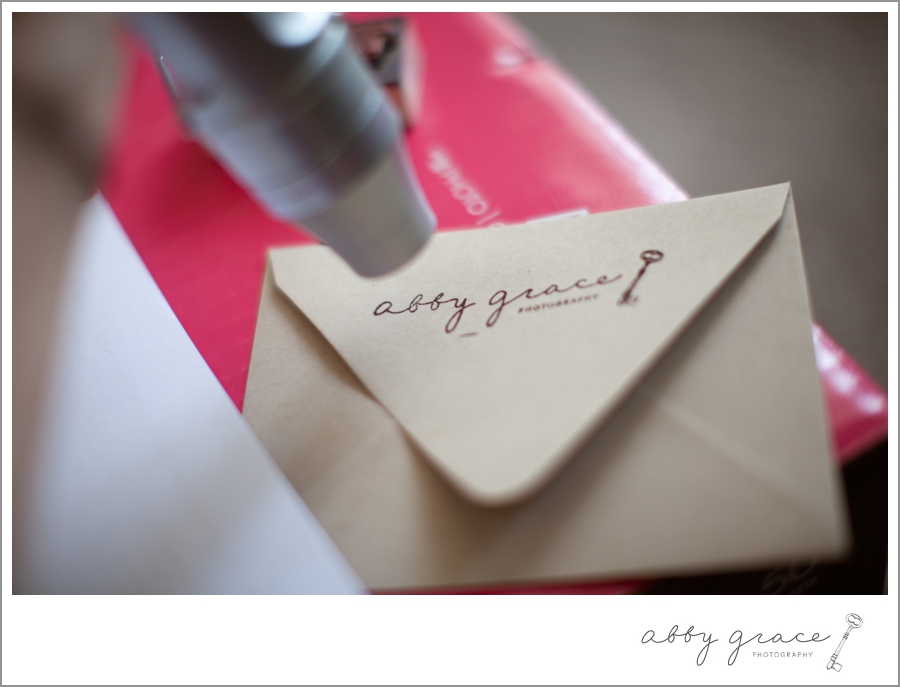
Step three: Switch the embossing gun to “on” and hold it at an angle over the image. It’ll take a few seconds, but the powder will turn glossy. Move the embossing gun around until the entire stamped image is free of grain from the powder, and the whole thing is shiny.
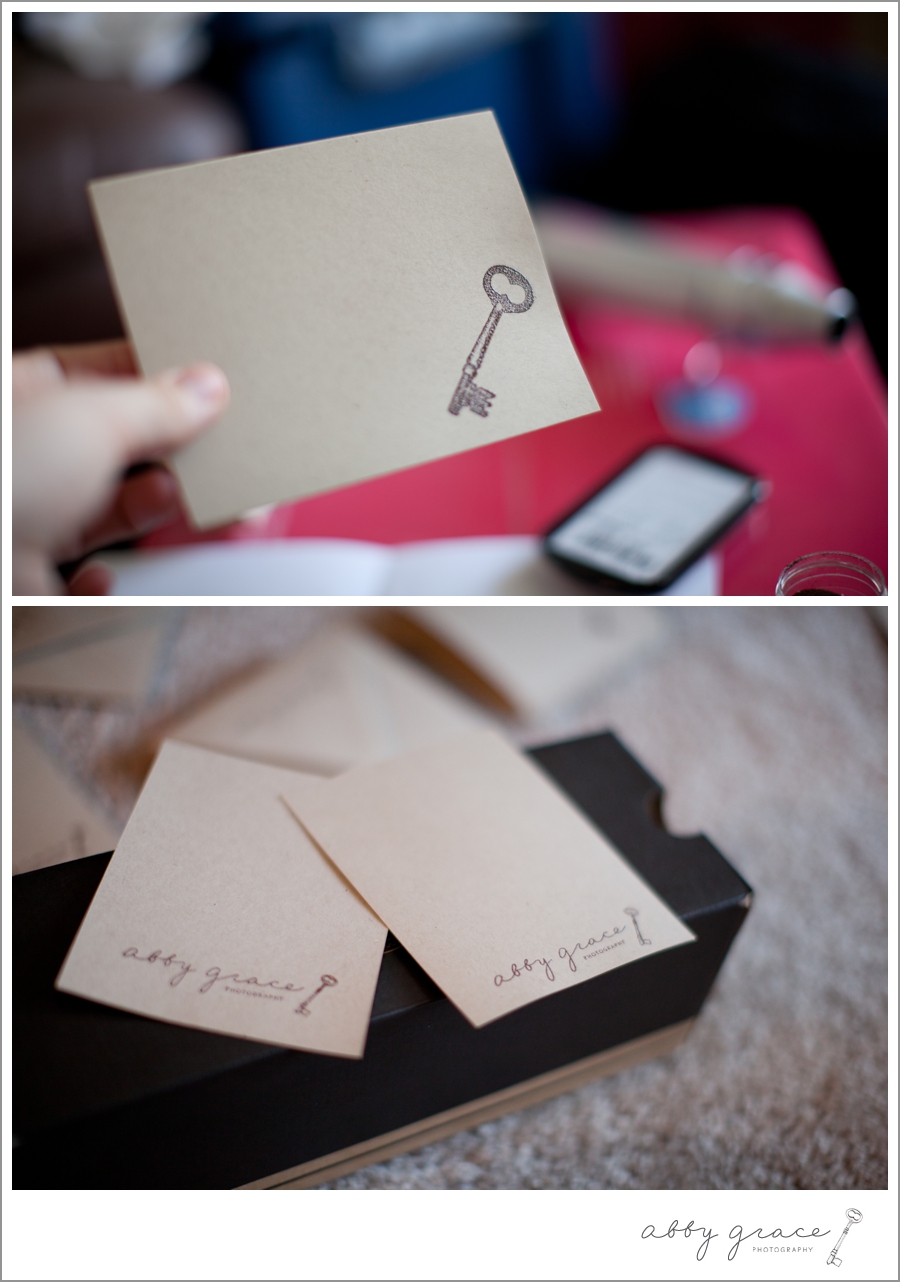
I pair the envelopes with key-stamped folded cards and logo-stamped flat cards (done in the same fashion as the envelopes) It makes for a cohesive stationery suite that leaves an impression!
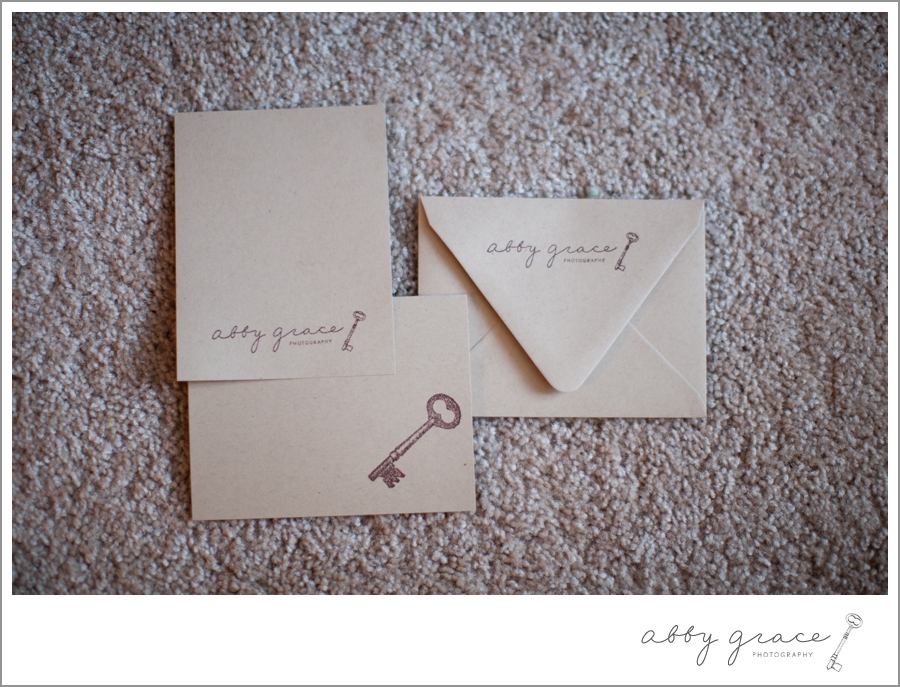
Taking the time to make personal stationery says a lot to whomever you’re writing. These are cards that won’t get thrown away. Well, at least not as quickly as the rest of the mail.
Happy Thursday!
Stationery!
June 16, 2011
Follow along
@abbygracephoto
info@abbygracephotography.com
WASHINGTON, DC & WORLDWIDE
DESIGN BY TONIC SITE SHOP
© ABBY GRACE PHOTOGRAPHY 2024
Back to top
I LOVE PRETTY PAPER TOO!! Pretty papers… card… stationary.. mmmm. Likewise, my mom and us girls went through a stampin’ phase, and have multiple plastic drawers of stamps and accessories… I have made SO many cards over the years! I especially love the look of embossing 🙂 This was a great post; simple, step by step.. so that anyone could give it a try. Great job! I love that you do your own papers 🙂
You know I’m LOVING this post seeing as how I’m a stationery designer. Great pictures and so much fun. PS-loving the Converse box as a prop 🙂
Yep, this entry is bookmarked… thank you. I too love paper, case in point all the stationary below my desk, in a big art envelope/bag i have had since a kid, that is waiting till I have more time to use it. I hope to one day start a line of cards and offer them through my website too. I am thinking they will feature my vizsla in some way. Maybe making a vizsla stamp would be fun to use as an embossed symbol… so many ideas and things I want to be doing! Kudos to you for acting on your own
Anna
that’s awesome! i love it!
thats awesome!!
One day my phone rings. My best friend is on the line, and my husband passes the phone to me, and says, “She’s excited, but I think she also said something about a paper store?” Yes, he heard her correctly, as PaperSource had just opened near us, and she was calling with a full report from inside the store!
We are paper people, and your post is a great reminder to make something!
But, that said, I love everything about this, including the photography! Close-ups are difficult to do well, but you did it!
Are you aware of Angela’s Happy Stamper? It’s a store in Reston — http://www.ahappystamper.com She has lots of great papers too (probably less expensive than the Town Center). Her store has great classes and does very well — and it’s her ministry too. She has the BIGGEST heart…
…and Paper Source is my guilty pleasure too. 🙂
I love paper also. My favorite store “If It’s Paper” closed, so I envy your having a Paper Source. Great directions. You thought of everything. Good job!
Abby- this is awesome! Thank you for sharing. You are so talented/creative!
They turned out so beautiful! Just like your work and your blog 🙂 Yay! So glad you found me so I could find you, Abby! xo
I hate to repeat what others have said but this page is definitely bookmark worthy! And the pictures are fantastic!! Did you use your Canon?
[…] couple of weeks ago I blogged my process for creating the custom stationery I use with my clients. It got some really great reviews, so I’ve decided to share my DVD […]
LOVE!!
[…] couple of weeks ago I blogged my process for creating the custom stationery I use with my clients. It got some really great reviews, so I’ve decided to share my DVD […]
I love this!! How large is your custom logo stamp?
[…] and in case you care to check out my painstakingly slow process, HERE is the DIY post I did on my old stationery, and HERE is the one I did for my old DVD […]