There’s nothing that makes a cold day a little more friendly than a hot mug of something, whether that’s tea, hot chocolate, coffee or cider. But sometimes I want to feel a bit more domestic than simply dumping a powdered drink mix into a mug of hot water, which is why I’m so happy to have found this recipe for mulled cider! The original recipe from Emeril calls for a cup of rum, but I like it so much without the added spirits that I’ve skipped the final step the last few times I’ve made it. Plus, leaving out the alcohol makes it an acceptable drink on a cold morning :). Be prepared that the initial preparation of this will take about two hours (it takes FOREVER to get to the simmering stage) but I reheat the leftovers a mug at a time on the stove and can enjoy it for days afterwards!
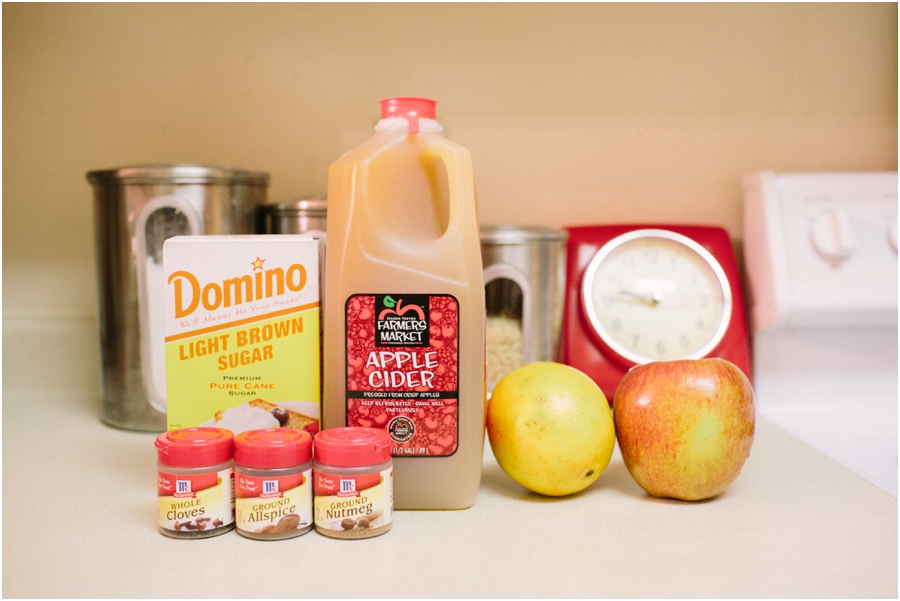
First: the ingredients!
- Two quarts of apple cider (the REAL stuff, friends. Not that “heated up clear apple juice” stuff)
- One apple (I like to use something crisp like a Braeburn)
- One orange, peeled and thinly sliced (SEE BELOW)
- 1/2 cup light brown sugar
- 2 tsp whole cloves
- 1 tsp allspice (different than Season-All Salt, as I’ve learned)
- Pinch of ground nutmeg

1) Pour the entire container of apple cider into a 3 qt-or-larger pot and set it on the stove at low to low-medium. Like I said- this is going to take a while.
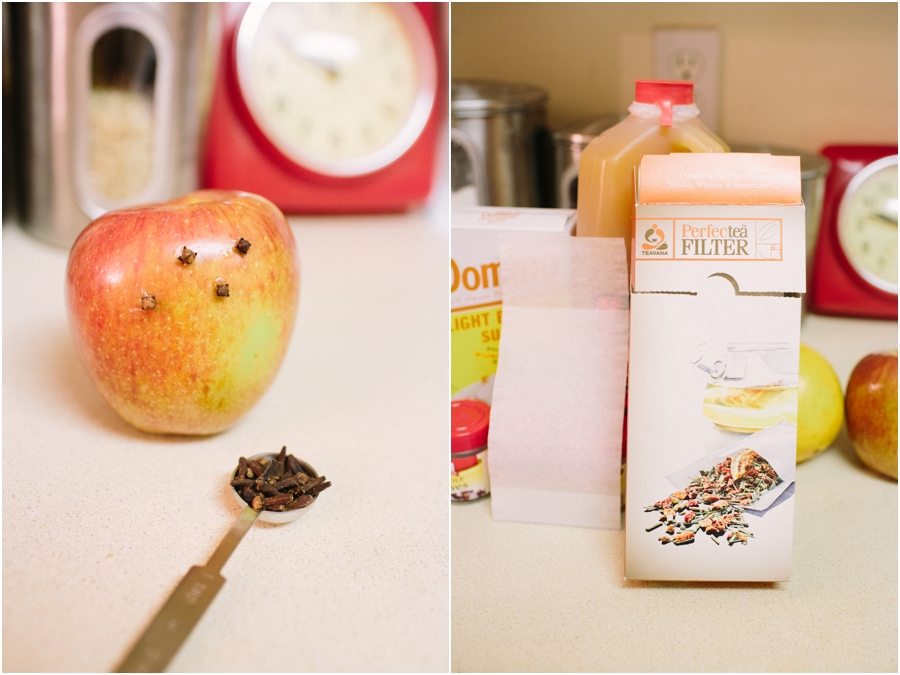
2) Decide how you’re going to do the cloves. Emeril’s recipe calls for studding the apple with cloves (see below) which is undoubtedly more couture in appearance, but I found doing so left me with quite a few broken cloves (and it took 8-10 minutes to get all of them poked into the apple). Instead, I had some extra loose tea filters laying around, so I just stuffed the cloves into the tea filter and plopped it into the pot, and then pierced the skin of the apple with a fork a few times around. If you don’t have any filters laying around, go ahead and stud the apple- it works just fine!

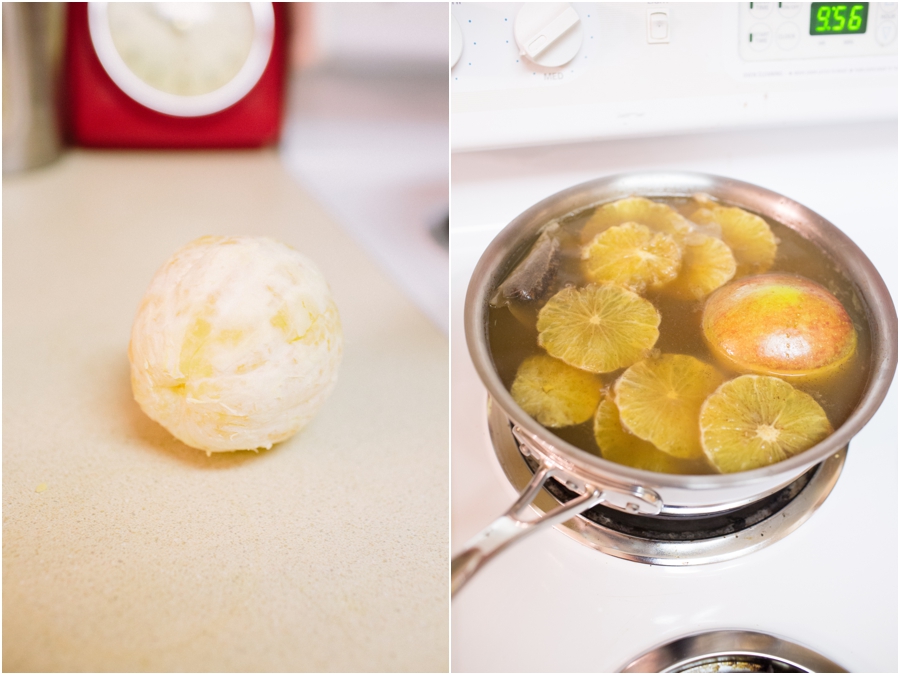
3) Peel the orange, then slice it and place into the pot. Peeling it is really important- Emeril’s recipe doesn’t tell you to do this, but I found leaving the skin on gave the cider a REALLY bitter taste, especially when using Navel oranges. So peel it, get as much of the white flesh-y stuff off as you can, then slice it.

4) Add the brown sugar, allspice and nutmeg. I’ve been adding it all directly into the pot, but I think I may experiment with putting the allspice and nutmeg into the tea filter with the cloves to create a little sachet. Not doing so leaves you with all of the spices left in the bottom, which won’t damage the cider, but makes for one GRITTY last sip as you drain your mug.
5) Wait for forever. Seriously- it’ll take about two hours for the cider to heat to a simmer, so plop down with a good book or begin the cider before you start dinner prep so that it can be an after dinner treat. It’s important to give it all that time (instead of setting your burner on high to speed it up) to give the spices a chance to infuse the cider with their deliciousness.
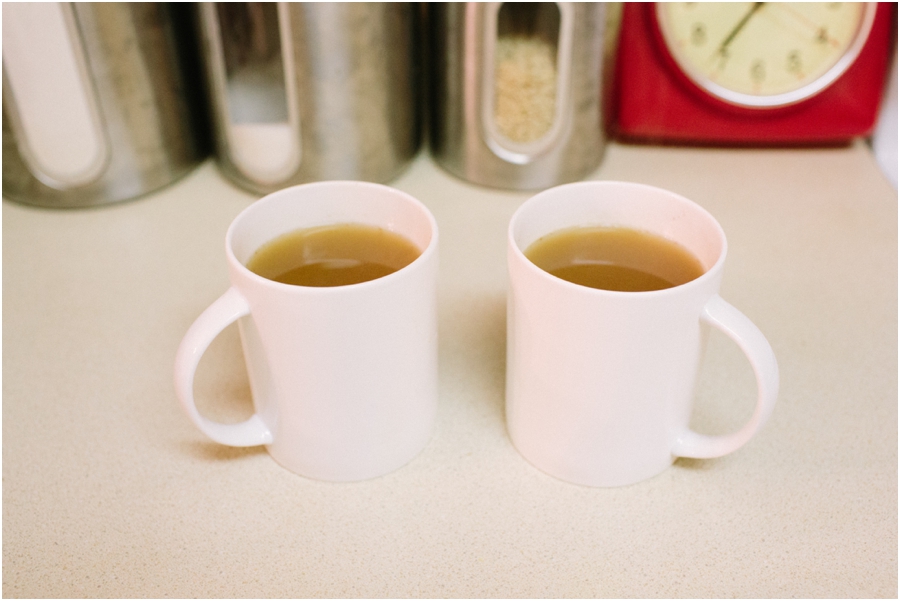
6) Once it reaches a simmer, let it go for 10 minutes, then remove the clove-studded apple/clove sachet, pour and serve! See? Doesn’t that look simply delicious?

Let me know if y’all try it- it’s become one of my favorite cold weather recipe! It makes about 8 servings in regular-sized mugs, and since we never finish the entire batch in one night, I just wait for it to cool slightly then I put the rest into a pitcher and refrigerate it until I’m ready for another mug. And like I said, it reheats really well on the stove!
Happy Friday!
Mulled Cider Recipe
November 9, 2012
Follow along
@abbygracephoto
info@abbygracephotography.com
WASHINGTON, DC & WORLDWIDE
DESIGN BY TONIC SITE SHOP
© ABBY GRACE PHOTOGRAPHY 2024
Back to top
This looks so amazing! I especially love the step-by-step instructions with the personal touch, accompanied by the beautiful photographs. Looking forward to trying it out! I vote this becomes part of your “blog brand”!
I can’t wait to try this!!!
Looks delicious. I want to try it!
This sounds wonderful, Abby!! I will have to make it soon – maybe over Thanksgiving break! Plus, I will stash the recipe away for later, so I have something yummy to make Greg on cold nights in Italy! 😀
YUM! Cannot wait to try this…I think I’ll be making it for Thanksgiving! Thanks for sharing this Abby!